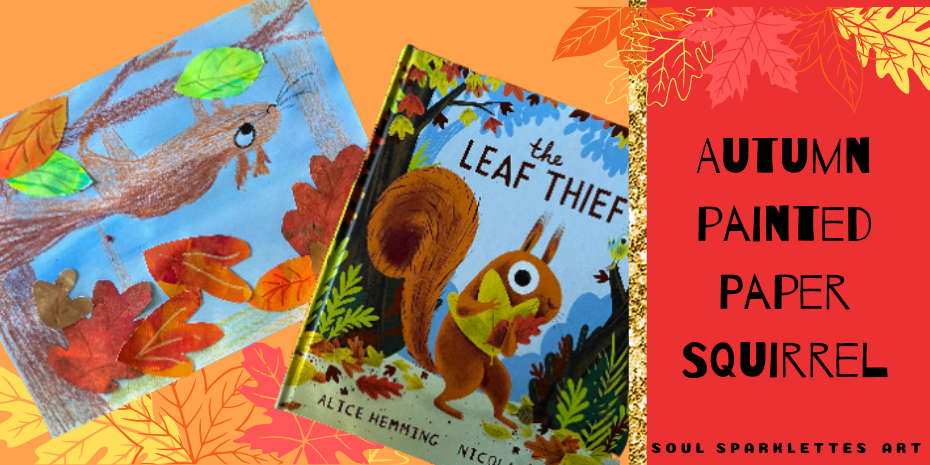
It’s the first day of autumn, but it’s still 85 in Michigan, and there’s no sign that the leaves are changing anytime soon. But there’s apple cider, hot cinnamon dusted donuts, and squash in every shape and color filling up the orchard stalls. The fiery crimson reds, tangerine oranges, and lemon yellows are on the horizon. It’s the perfect time to create beautiful autumn painted paper, and then use them in this squirrel project inspired by the book The Leaf Thief by Alice Hemming.
Creating a fiery spread
When creating painted paper, there’s no wrong or right – just experimentation. But there’s some ways to make the results more vibrant, and less muddy.
Let’s start with the colors – choose a selection of reds, orange, and yellow. But to make it even more fun, throw in some neon versions – and add some metallic gold and copper.
Get out some plastic containers, something deep enough to mix the colors in. Plastic food containers and condiment cups with lids make perfect mixing containers, and you can save the leftover paint for later.
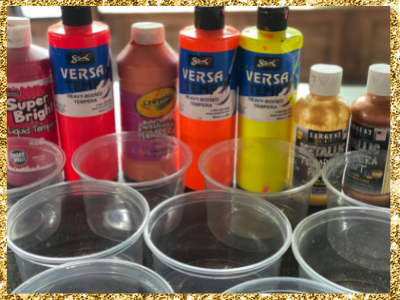
If you have an entire art room of students, pre-mixing some colors is a good idea. Limit the palette by having only 4-5 colors on each table. Or think about creating stations with 4-5 colors and have students move from table to table, creating a piece on each.

If you’re doing art at home with your kids, consider letting them help to mix the colors. You never know what they’ll come up with. Let kids name the colors that they are using as well – Little Sparklette created one called “cheese” which was a brilliant yellow-orange.
A few of my favorite painted paper techniques
You don’t need fancy tools to create painted paper. In fact, you only need a paintbrush. If you have paintbrushes that are larger, make sure to get them out – they’ll help avoid hand fatigue for younger kids.
Start by painting the entire piece of paper with an autumn color. From there, let creativity take over. Here’s a few of my favorites.
Sponges and sea sponges make excellent tools for texture. After painting the paper, sponge a darker color or metallic tempera onto the paper.
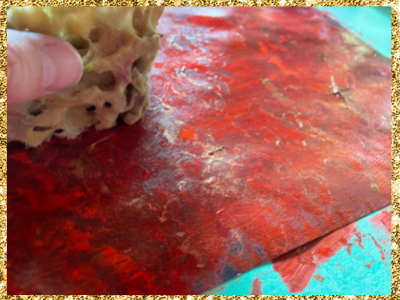
Before the paint is dry, use the end of the brush to draw lines and patterns into the paper.
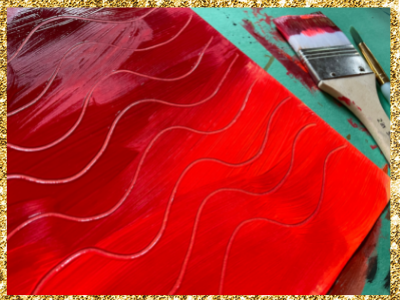
Head to the dollar store and grab a spongy dish scrubber or fly swatter. These can be used for painted paper, as well as gelli prints.
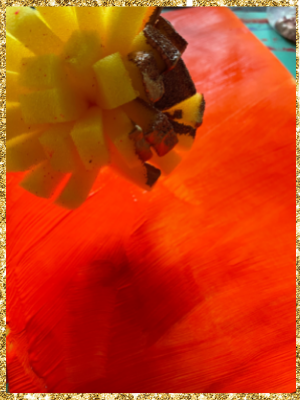
Now what?
Now that you have a variety of papers, what exactly can you do with them? This is where you can create your own version of autumn – no need to wait for the leaves to turn colors.

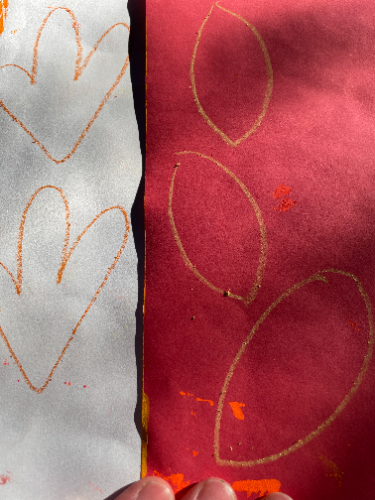
Use a crayon to draw leaf shapes on top of the paper – or on the back. I prefer to draw on the back because if you mess up a line, it’s a quick and easy fix. Also, no one has to see it – I know I’m always changing my mind on the type of leaf I’m drawing, so I expect kids will too.
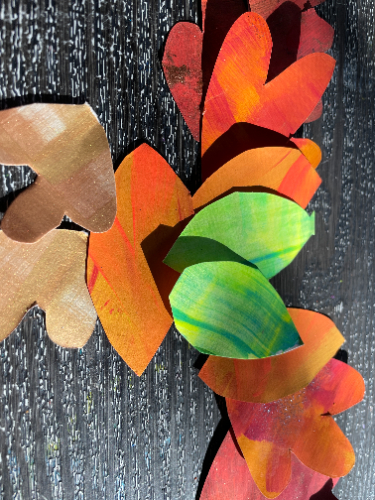
When you cut out your leaves, you have a collection of autumn leaves, perfect for a collage project.
Use a crayon to draw leaf veins on top of the leaves. If you have construction paper crayons, oil pastels, or tempera paint, those work beautifully too.
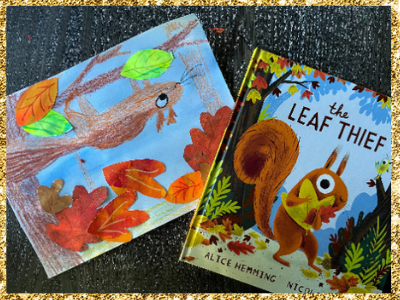
Create a garland, a collage, or use the drawing guide to draw this adorable red squirrel inspired by the book The Leaf Thief by Alice Hemming. You only need brown crayons to make the beautiful backdrop – and then let the painted paper leaves steal the show.
Click the banner below to download your drawing guide.
The full step-by-step lesson can be found in the Glitterbombers Membership. Click HERE to be notified of the next enrollment period and enjoy over 300 art projects and resources, 2 full curriculums, and over 100 videos for art teachers and homeschoolers.
