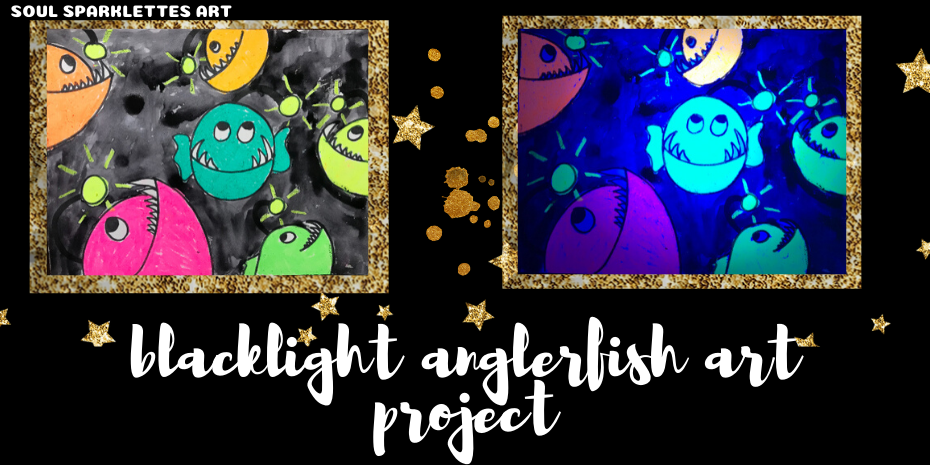
There’s something about the anglerfish that either looks really terrifying or really…silly. I wanted to make this project accessible to all kids, even younger elementary students and preschoolers, so I went with silly for this Blacklight Anglerfish Art Project. The supplies are simple – a black Sharpie, neon oil pastels, and black watercolor paint. Want to show kids that it glows under a blacklight? Pick up one of these little blacklight flashlights here.

Supplies
- 9×12 white sulphite paper
- Black Sharpie or waterproof marker
- Crayola or Sargent neon oil pastels
- Black watercolor paint

Baby Anglerfish Doo-Doo…
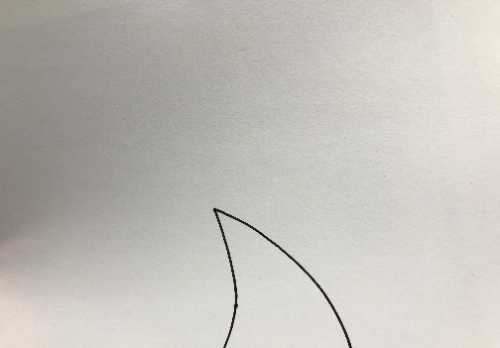
Anywhere on the page, starting at the edge of the page, draw a shark fin. The larger the shark fin, the larger the anglerfish.
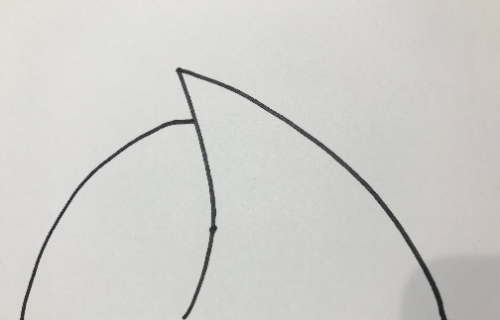
Draw a curved line going away from the shark fin and ending at the edge of the page, starting an inch below the shark fin tip (this will be the top of the anglerfish head).
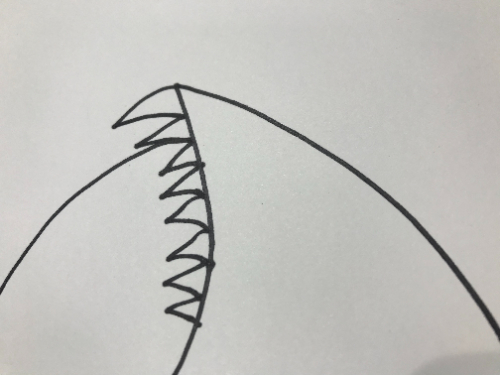
Add the teeth only to the bottom portion. Have students turn their page if needed to make it easier to visualize where the bottom jaw is.
Add an eye for the anglerfish. To make it look a bit sillier and cartoonlike, have the anglerfish looking up. However, have kids add whatever type of eye they would like. Older kids may prefer a more detailed large eye that is more realistic.
Add two curved lines parallel to each other with a circle at the end for the light.
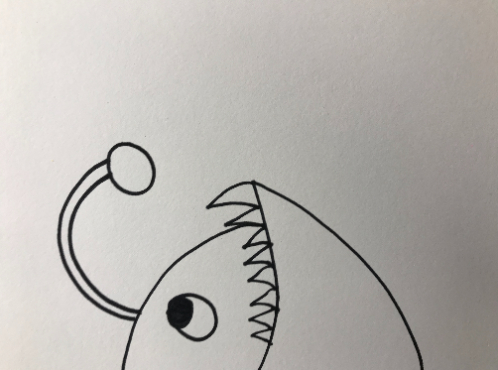
Repeat these steps for two more anglerfish. Have kids turn their paper to decide where to start their next shark fin. Encourage different sized shark fins for different sizes of anglerfish.
Anglerfish In Front of You
Now it’s time to add one or two facing the viewer. Start by drawing a circle, and a smile line in the middle.
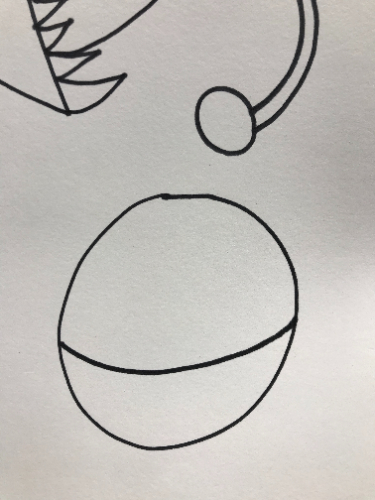
Add teeth, eyes, and the light going to one side or the other of the face. For the forward-facing anglerfish, add fins on either side of the face.
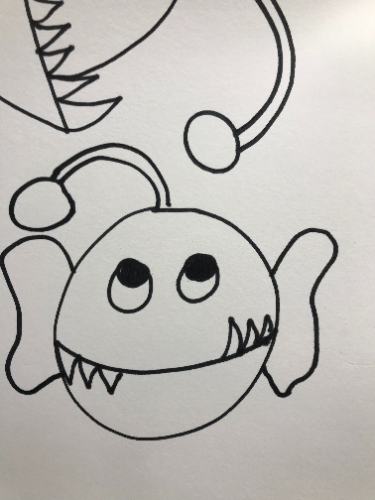
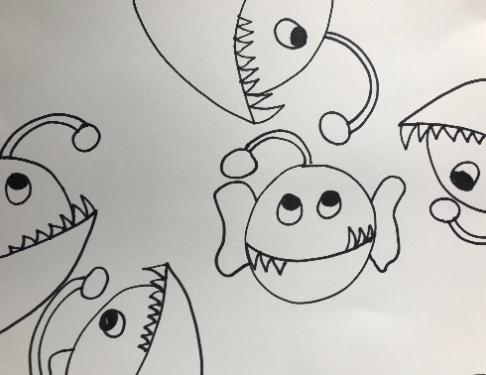
Students should sit back and look at their composition to determine where they have more space. Do they need to add more anglerfish from the side starting with the shark fin? Or have they drawn around the edge and they need more forward-facing anglerfish?

Adding Color
Use the black marker to color in the light stalk. This will make the light really pop against the black background.
Students should choose whatever colors they desire to color the anglerfish. Consider adding patterns to the body.
Neon oil pastels will provide an exciting opportunity to see them glow against a blacklight, but crayons or other oil pastels can be used for this resist technique.
Add short lines around the lights with a neon yellow oil pastel or a white or pale yellow crayon.
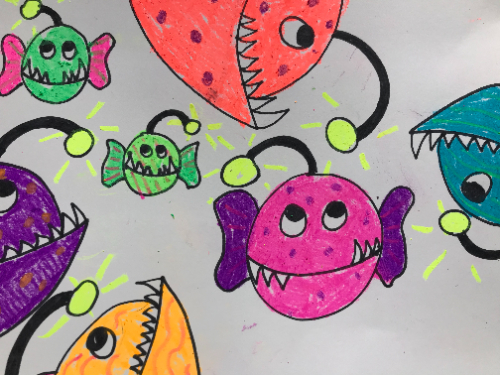
Use black watercolor paint to paint the background. Students can paint over the lines since the oil pastel will resist the paint. Encourage students to go slowly around the teeth.
You’re done! If you have a blacklight and used neon oil pastels, now is the time to surprise students with their deep sea anglerfish.

Head here to bring up the video on YouTube where I teach it.
Love under the sea art projects? Make sure to download the Tide Pool issue of The Glitter Bomb Art Curriculum!
