There is just nothing like scratching away at that black piece of paper to revel beautiful rainbows underneath. They even make scratch art in post its now so you can write yourself notes!
But what if you could make scratch art paper yourself?
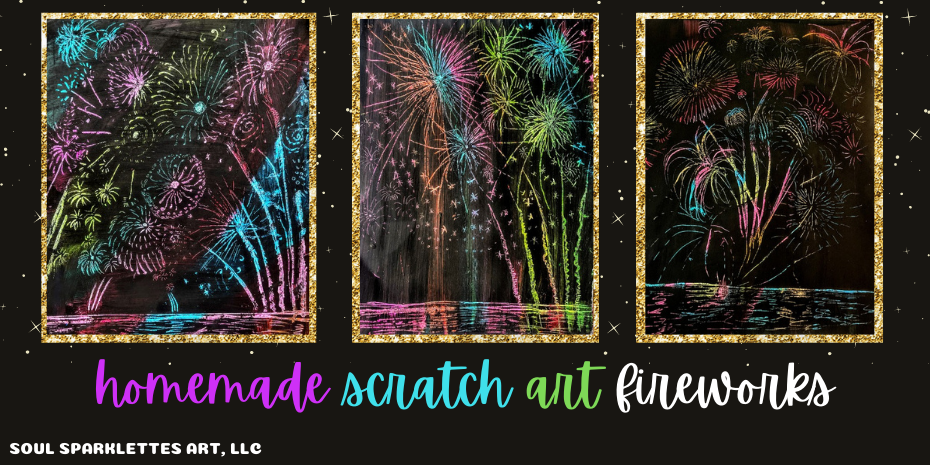
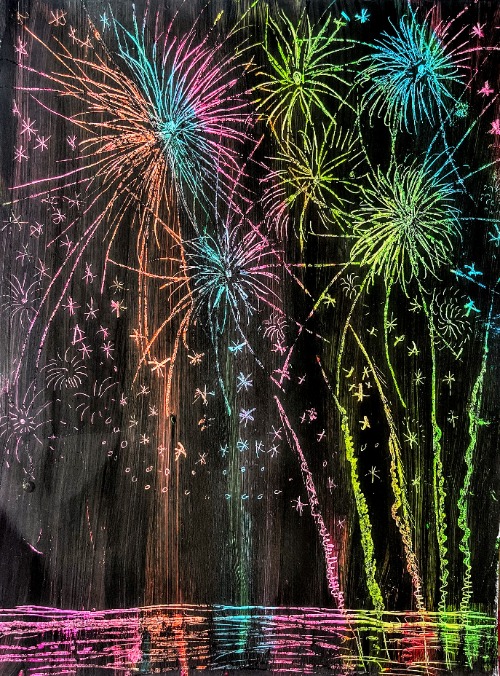
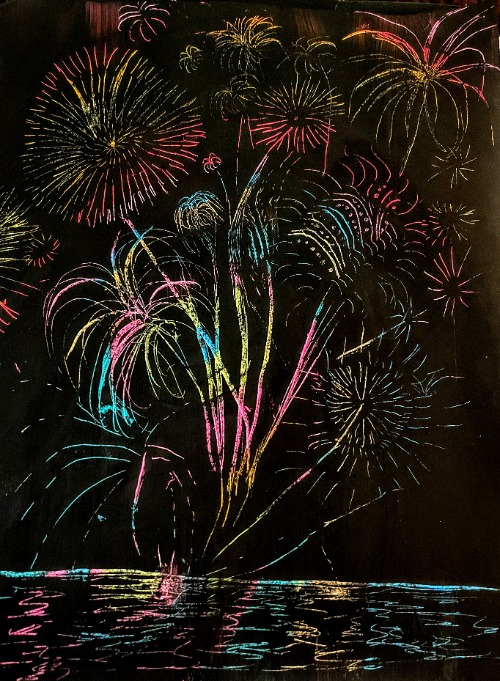
This homemade scratch art fireworks project does just that. First you create the scratch art paper, and then you create your celebratory night sky – for your 4th of July, or even for New Year’s!
Homemade scratch art can be done with acrylic, but for washable purposes I used tempera (because goodness – I can’t seem to keep from ruining my own clothes with acrylic!).
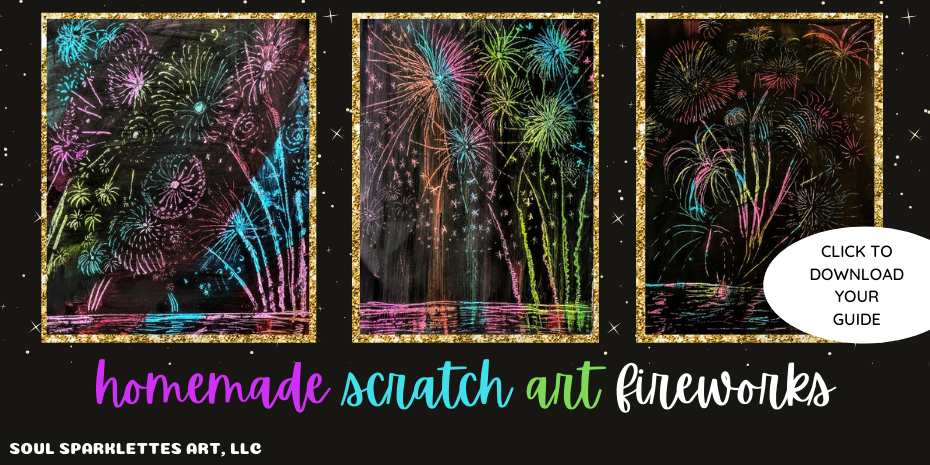
Here’s how to do it – and when you’re finished, click the banner at the bottom to download the instructions in PDF form as well as a Firework Design Guide.

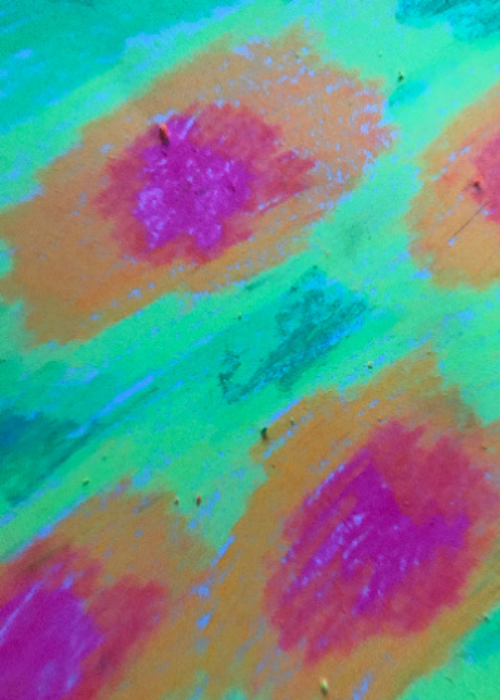
Ready to make some rainbows?
Bright oil pastels work the best here. You want the colors to be bright enough to show through. Crayola’s Neon Oil Pastels is my favorite. Sargent also has a set of neon pastels – but they don’t have as many colors.
Have fun decorating the entire piece of paper. Stripes, circles, lines and patterns – anything goes here, including large swatches of color. Make sure to color until there’s no white left.
For younger students, use smaller paper – coloring this much can be tiring for little hands!

A little soap goes a long way
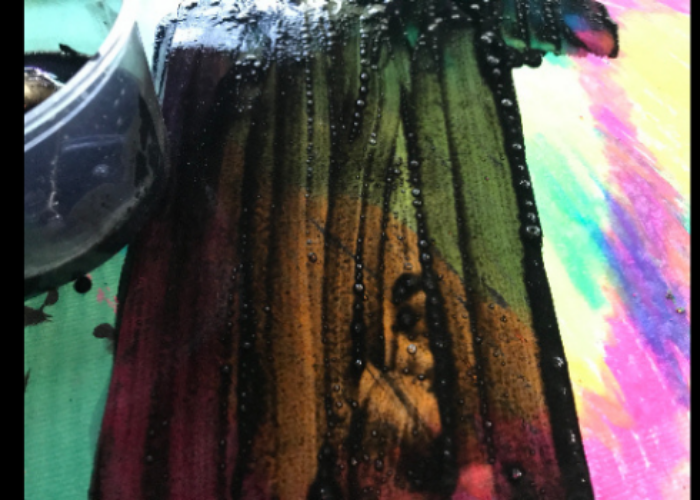
Grab your liquid dish soap (Dawn is a favorite, but use whatever you have on hand), liquid black tempera, a container to mix it in, and a large paintbrush. A flat paintbrush is the easiest for adding long stripes across the paper.
I highly advise some kind of placemat underneath. This is so you can get the black paint to cover the entire thing, instead of having those neon edges.
Mix 2 parts of liquid tempera to 1 part dish soap (even a little less than that will work). The dish soap is necessary. If you don’t add the dish soap, you will have a heck of a time scratching the paint away!
Use the paintbrush to paint long stripes down the oil pastel colored paper. You may notice some suds. Ignore them and keep on painting – it’s normal!
When finished, add a second coat over the top, and set aside to dry.

It’s fireworks time!
You can scratch anything into the new scratch art paper, but scratching out fireworks are quick, easy, and a fun way to celebrate!
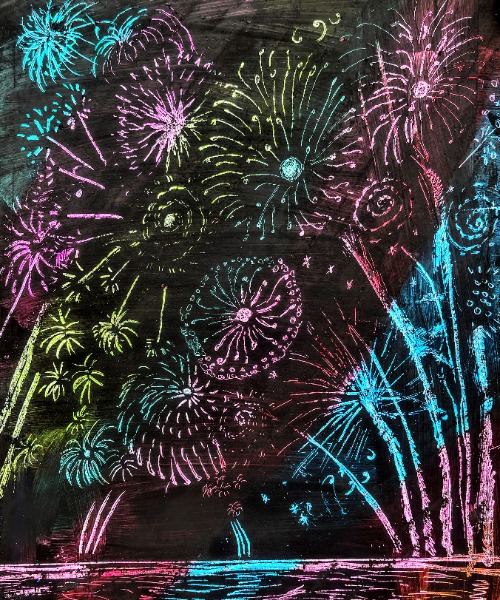
To create a firework, create a small circle, and lines that radiate out from the circle making the ends curved or with a circle at the end. Repeat with another layer of lines.
Create a few at the top of the page, and then draw their flight path by scratching in curved lines almost to the bottom of the page.
Scratch out a horizon line and some short strokes underneath it for water or grass.
Continue to fill up the sky with a few larger fireworks and some smaller sky and experiment!

Click the banner below to download your guide, including a firework design page!
Ready for an explosion of creativity?
If you love this project, we offer another Homemade Scratch Art Project with a step-by-step guide to drawing a troublesome raccoon called Nighttime Caper. It’s available in our Forests in the Fall Bundle in our Glitter Bomb Shop.
If you’re ready to take your art program to an entirely new level this year, get ready for our Global Art Hop Curriculum! Members joining this August will get this done-for-you curriculum map, as well as all of the projects to take your students on a trip around the world. Make sure you’re on the waitlist so you’re the first in line!

I love you mr art work !
How do you do the glow in the dark art?
There are so many ways to add glow in the dark elements to art. One is using fluorescent art supplies such as Sargent or Crayola neon oil pastels, Luminous One Touch Color chalk, or neon/fluorescent watercolors. When finished, all you need is a blacklight or a blacklight flashlight to have fun making glow-in-the-dark art!
Pingback: Fourth of July Craft Ideas for Kids: 30 Fun and Patriotic Crafts