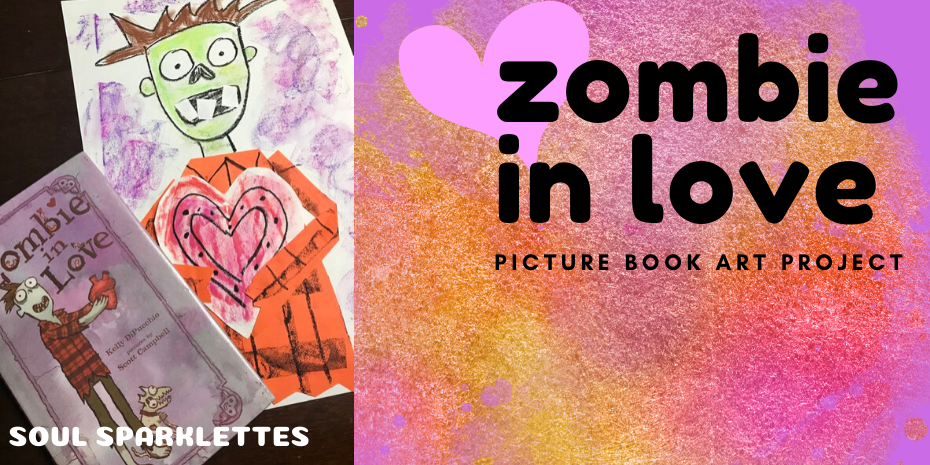
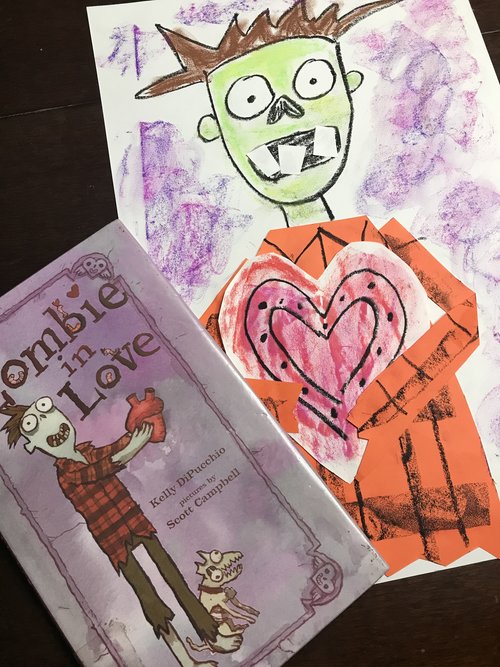
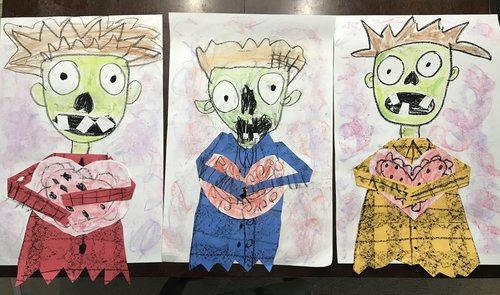
Get ready to eat your heart out this Valentine’s day with this Zombie in Love Art Project for Kids. This dapper fellow is easy to make using chalk pastels, a black oil pastel, and a couple of sheets of paper. Inspired by Zombie in Love by Kelly DiPucchio, he’s lean, mean, and a heart-eating machine.
Zombie in Love Supplies
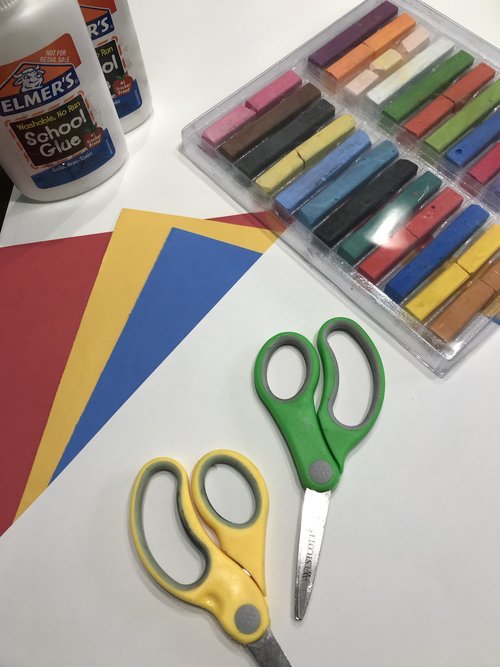
- 12 x 18 white sheet of sulphite paper
- 9 x 12 sheet of white sulphite paper
- 9 x 12 sheet of sulphite paper in any color
- black oil pastel
- chalk pastels
- scissors
- white school glue or a glue stick
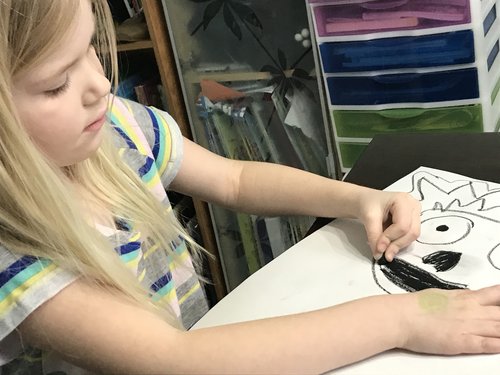
Draw the Zombie’s Face
Draw a U-shape for the face with a rounded top, leaving room for the hair. Draw an upside-down heart for the nose in the center of the face, and too larger circles with a black dot for the pupil. Add two small ears on the sides of the head, and a large horizontal oval for the mouth. Add two short lines for a skinny neck.
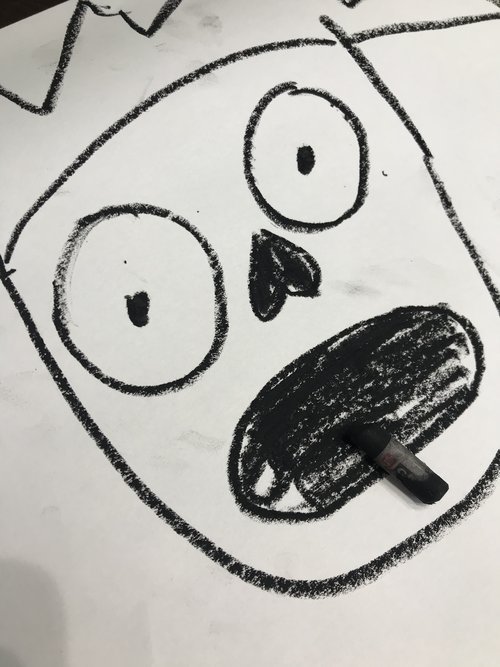
Draw the hair with a large zigzag line, or let kids give their zombie their own hairstyle.
Give the Zombie Some Clothes
Place a 9 x 12 sheet of sulphite paper vertically, and lie a oil pastel on its side. Use it to draw three or four lines going down the paper from the top all the way to the bottom. Draw four or five lines going across the paper from side to side in the same way. Draw more lines going across the paper, this time with the tip of the oil pastel. This will create thick and thin lines.
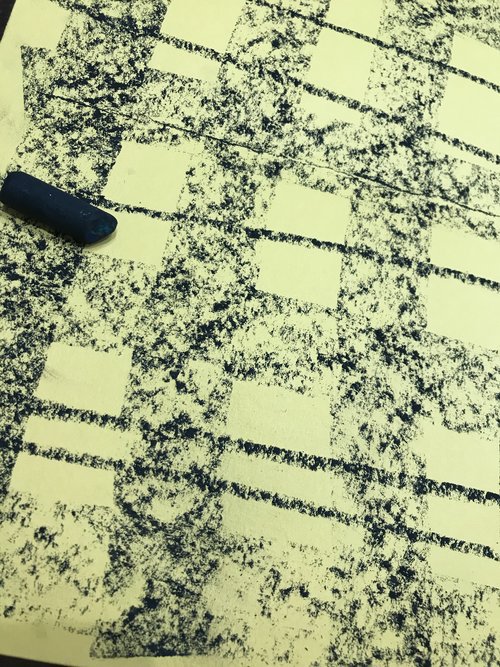
Cut a strip of paper off of the bottom of your patterned paper, approximately three inches wide. This will be used for the arms.
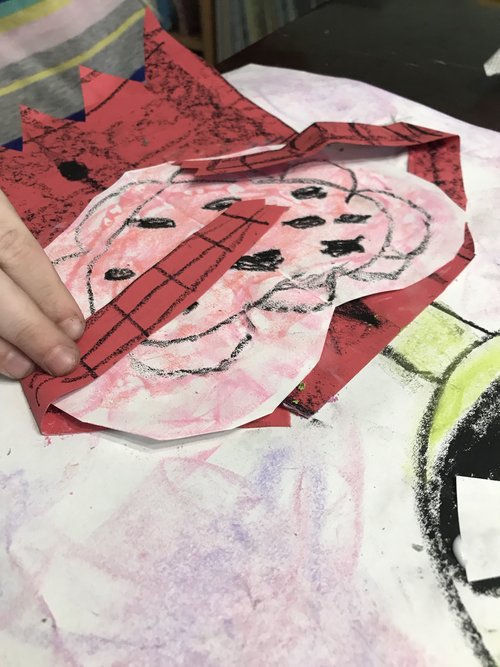
Place your hand at the top of the paper in the middle and draw two curved lines going towards the bottom. Cut along the lines and make the wider bottom part raggedy with a zig zag. Glue the shirt down. Add a color and a center line and buttons, if desired.
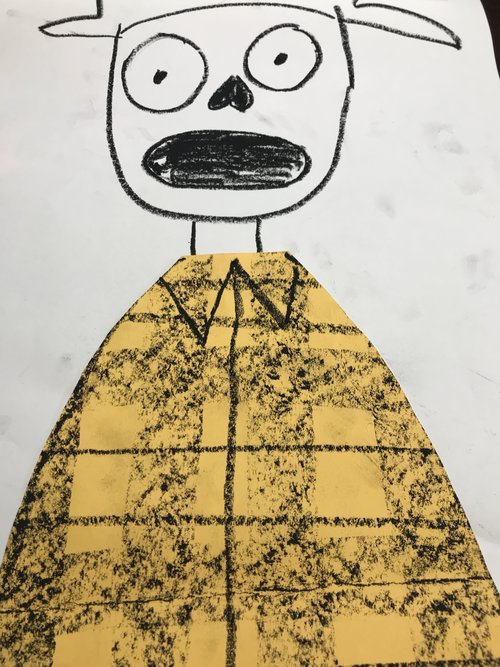
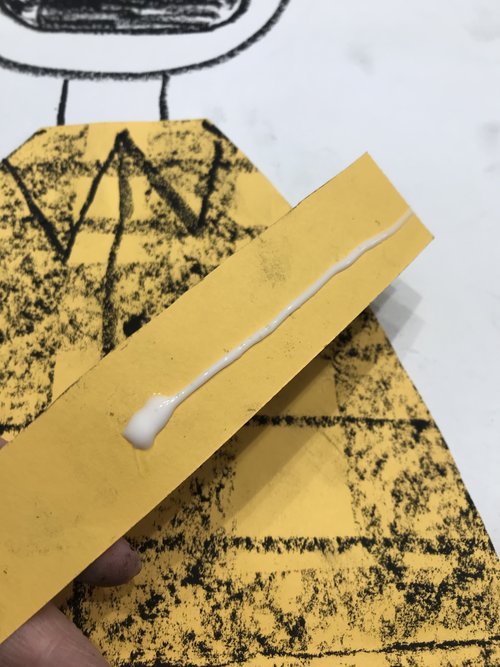
Cut the strip of paper you saved in half lengthwise. Glue only half of the arm strips down. Create a fold in the paper so that the arms fold in towards the chest. Add some additional lines with the oil pastel using the same technique as earlier.
Give the Zombie Some Love
Fold a piece of paper in half and draw half of a heart shape and cut out.
Glue the heart down on the chest, and use chalk pastels to decorate in any color. Use the black oil pastel to add details such as stripes or polka dots.
Glue the rest of the arms down on top of the heart.
Use a few small rectangle scraps to glue into the mouth. Make sure the teeth aren’t too straight, this is a zombie after all.
Use chalk pastels to color in your zombie’s face, neck, and hair. I chose green for my zombie’s face, but some kids will love using pale blue. Be careful around the eyes and encourage kids to use one finger to smooth out the color.
Then use chalk pastels in purples, pinks, or reds to add swirls in the background. Do this while the chalk pastel is lying down. This adds a smoky effect to th scene.
Look at these guys. They are ready to eat your heart out.
We would love it if you’d share!
Don’t forget to tag us at @soulsparklettes on social media if you make this loving zombie art project with your kids or students – we love to see what you create!
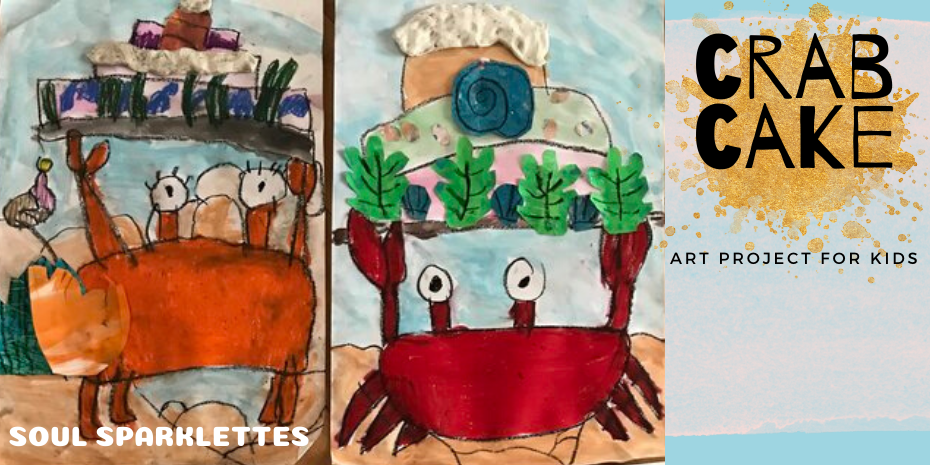
For another fun picture book inspired project, see this one:
Join the Glitterbombers Membership!
This is only one of the many diverse art lessons in the Glitterbombers Membership. Hundreds more art projects, videos, and resources at your fingertips for whatever you’re studying, or whatever art concept you’re ready to teach. Head here to hop on the waitlist and find out when we open next!
