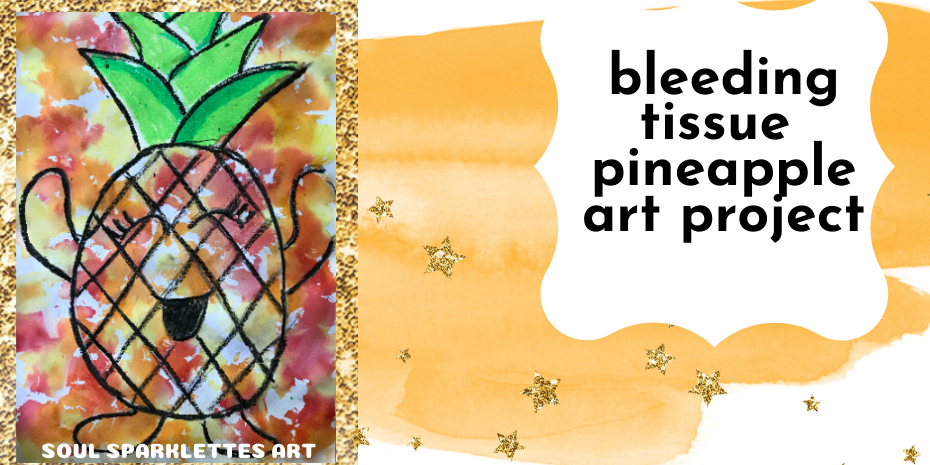
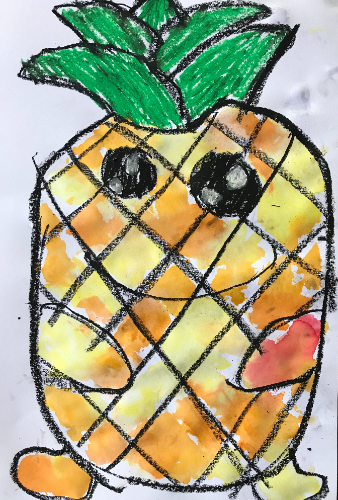
One project in the June 2020 Glitter Bomb issue is the Oyster Catcher which uses an unusual supply: bleeding tissue paper. It creates the most magical background, a watercolor wonderland. But what else can you do with it once you purchased a pack? That’s why I created this Bleeding Tissue Pineapple Art Project.

The Supply List
The supplies are simple:
- 9×12 or 12×18 white sulphite paper
- 4-5 analogous colors of bleeding tissue paper (colors next to each other on the color wheel)
- Paintbrush
- Cup of water
- A plate or bowl to discard the tissue paper
If you need help knowing where to get the supplies, check here for my recommendations.

Drawing the Pineapple
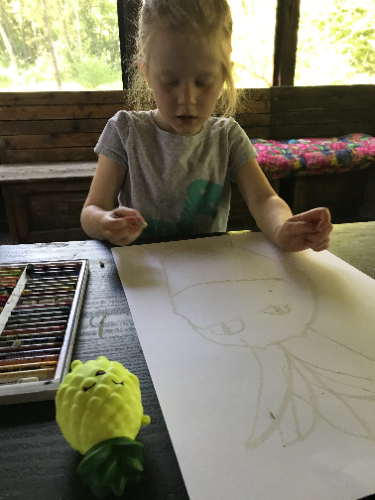
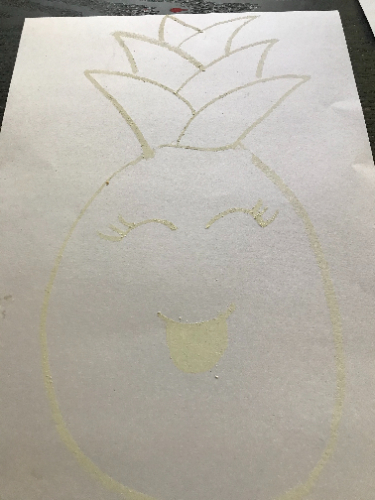
First we chose either a white or black oil pastel to draw with. I reminded my Sparklettes to press hard. Often this means the oil pastel will break, perhaps 4-5 times, but that’s okay. Oil pastels are meant to break. (Parents, try not to panic when it happens and just go and get some tea.)
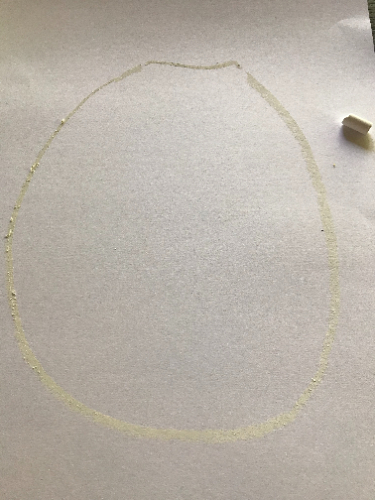
Next we went on to the stem. At the top of the oval we drew a curved line, curving off to either the left or the right side of the paper and connecting back to the pineapple with a pointed end. When beginning the second “leaf”, we started the curved line about an inch or two up along the curve of the previous line, instead of at the pineapple.
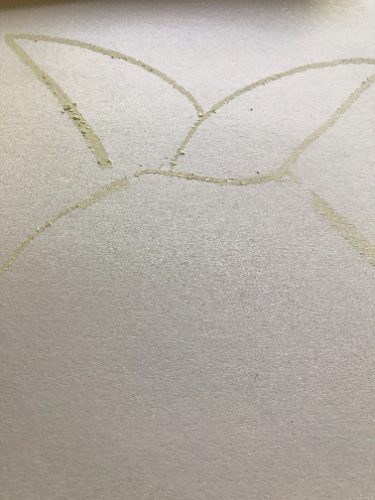
We continued adding leaves by starting each one in the middle of the previous leaf’s curved line, about an inch or two up.
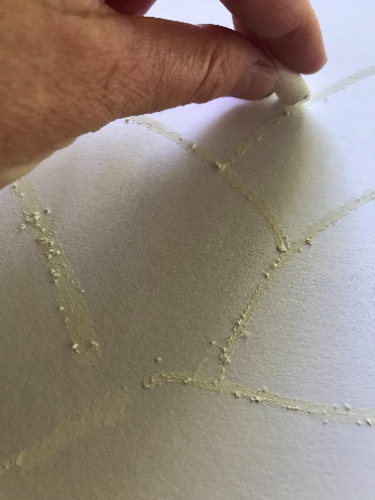
Big Sparklette chose to use black for her pineapple, which gave it a much different look than mine. We love to experiment with different colors when we do our projects, to see which we like better. And giving kids a choice is always a great idea.
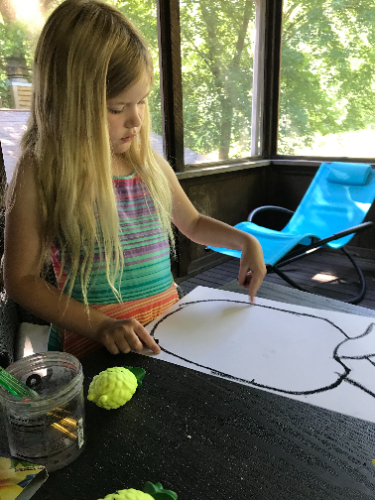
Now it’s time for the face, and here, kids can have a great time choosing how their pineapple is feeling. There was a lot of discussion as to if pineapples had eyelashes. It’s important to take the time to really hash these conversations out.
Add arms and legs to the pineapple if desired. Big Sparklette tends to copy her toys. I made mine so excited her arms were up in the air. Little Sparklette often looks at both of us and chooses something in between.
Then we added diagonal lines criss-crossing our pineapple for the texture.
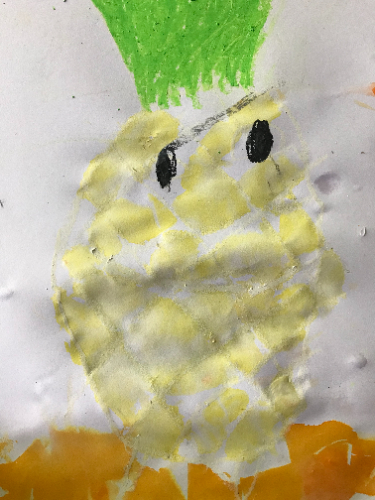
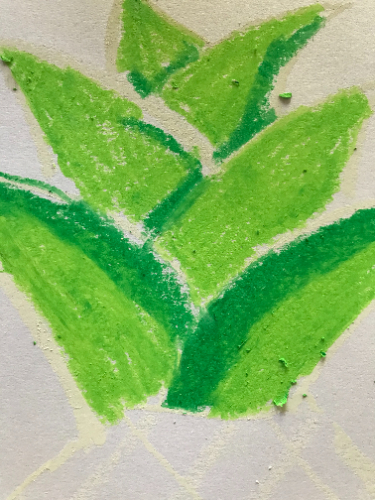
We took green and colored our stem so the bleeding tissue didn’t make our stem turn colors and the oil resisted the water.

Adding the Bleeding Tissue Paper
Bleeding tissue is fun to work with, though it can take a bit of time to put on. If it’s your first time, I highly advise using smaller paper. Since my Sparklettes have used it quite a bit by now, and Big Sparklette insists on drawing everything as large as she possibly can, I didn’t fight it today and just started with the large 12×18 paper.
The tissue paper doesn’t have to be in any particular shape. You can purchase it in circles, squares, or in sheets. Ours came in sheets so I cut up a bunch of it, and then lost my patience and started ripping. Anything goes. Keeping it real over here.
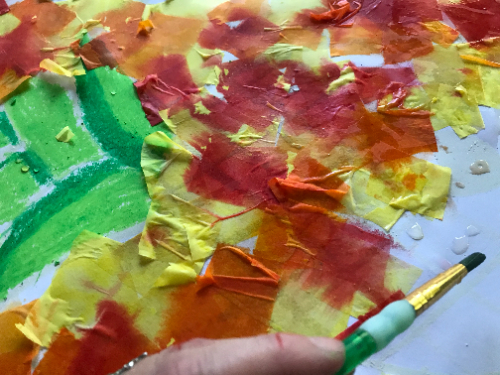
We used our paintbrush to add water to our pineapple paper a little bit at a time and placed a tissue paper square (random shape) on top. If it started to come off, we just dabbed a little more water on top.
I covered my entire paper, including the pineapple’s face, with fiery colors. My Sparklettes were concerned that my pineapple had been blinded. I calmly explained that my pineapple was at the spa and was relaxing. I’m not sure they believed me.
Since my Sparklettes thought I had lost my mind, they went their separate ways.
Little Sparklette chose to only use yellow for her pineapple, and then used orange to give it something to stand on.
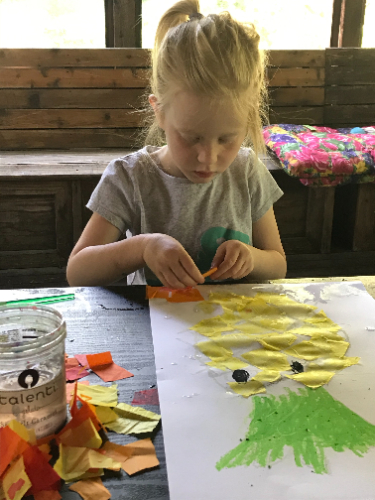
Big Sparklette chose to use multiple colors for her pineapple, but was fastidious in placing the bleeding tissue on the pineapple only. Not a single piece of tissue paper went past that pineapple edge (can you tell she’s my perfectionist?).
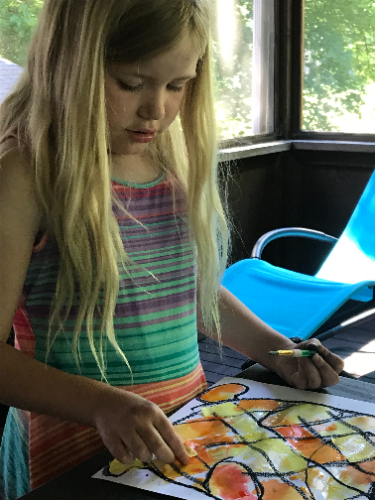
After we placed our tissue paper on top, we started pulling it off, starting from the area that we did first.
When I pulled mine off, I noticed that I wasn’t fond of the white oil pastel with the multi-colored background.
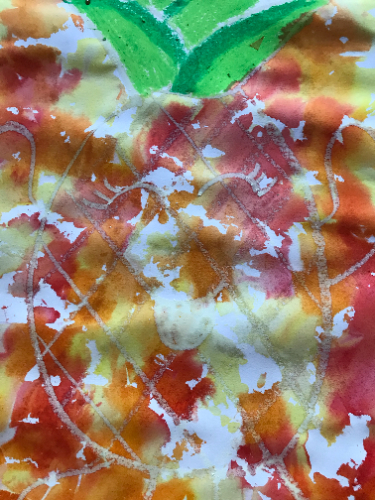
So I took a black oil pastel and traced over the white oil pastel. One thing this showed my Sparklettes is how it’s okay to not care for our work, and how to problem solve to make it better.
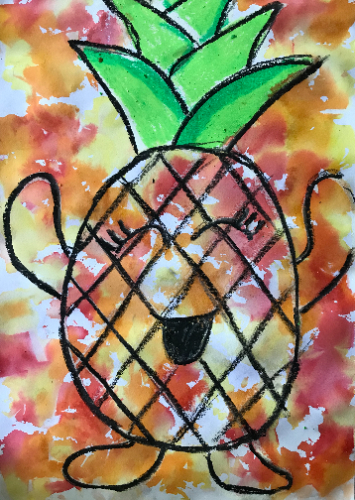
Now my pineapple has a reason to celebrate.
Grab your free, downloadable, and ready to print PDF of this project here.

Have you done the Oyster Catcher project from The Glitter Bomb June 2020 issue? Head here to download it. It’s free and just what you need for your summer (along with pineapple).

